Time for full disclosure – we currently aren’t and do not employ any licensed architects or designers.
That means the approach we take when designing comes from a hands-on/practical approach, and not one that “looks good on paper.”
Back when I was just a crew foreman, the company I worked for had this certain designer who wanted to do something a certain way. When I informed her it couldn’t be done that way, she said to me, “well, I’ve won awards…sooo…”
After I assured her I could show her my certificate for winning the “ball throw” in second grade, we mutually agreed that whatever she’d wanted to do couldn’t be done.
Now, I’m an advocate for “if you can dream it, you can do it”, and I pride myself in our ability to make things happen – but every now and again reality gets in the way of that.
So we design things within the confines of practical application, and then try to be as creative as possible within those parameters. One thing we won’t do is promise you something that we don’t think can be done.
The process from going to an initial meeting is generally straight-forward, although a lot more happens behind the scenes than I think people realize.
Step 1: Free Estimate
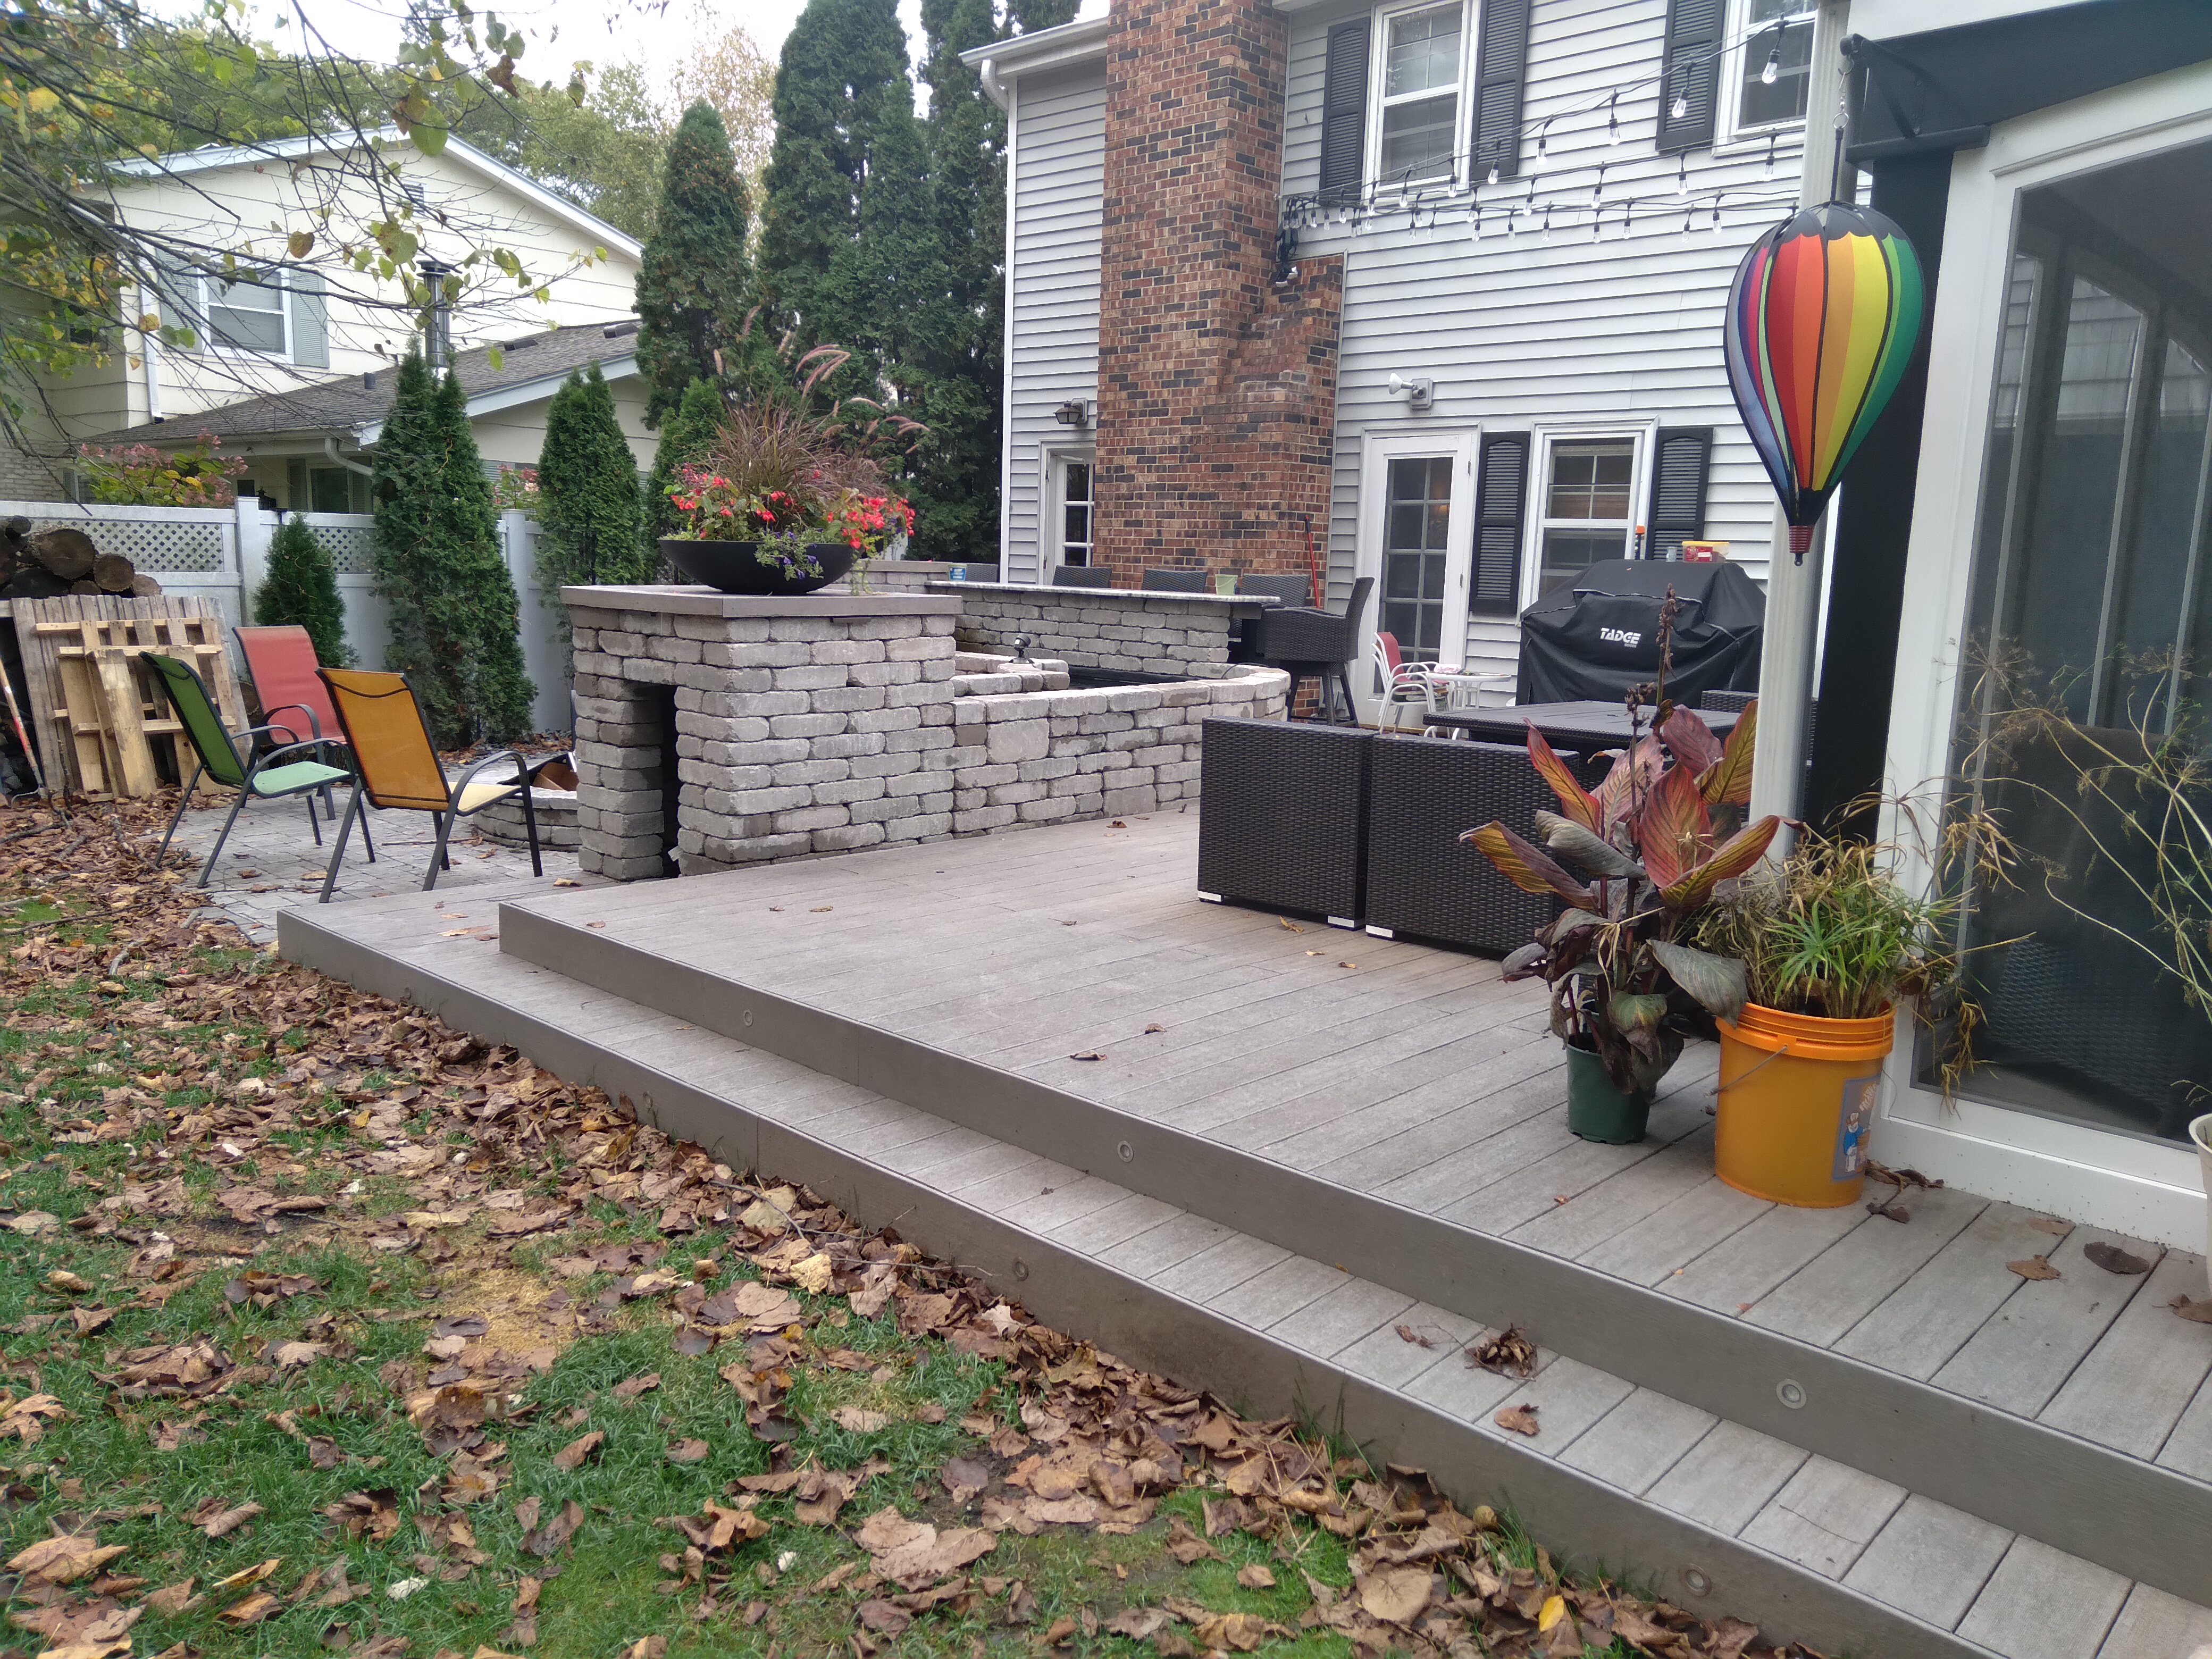
We will stop by and take some pictures and measurements, spending anywhere from a half-an-hour to an hour discussing your ideas.
With that information we can generally give you an extremely rough, ballpark estimate on the spot. That tends to elicit either sticker shock or an eagerness to get the project going – if the sticker shock didn’t scare you away, we proceed to step two.
Step 2: Design Agreement
We won’t begin a project without an agreed upon design (we have, and too many times we’ve ended up paying for that mistake – literally), and another thing we’ve learned recently is we can’t do designs for free.
Depending on the scope of the project (or a potential customers uncertainty), a design will take us anywhere from 4-40 hours to complete, and being we’re a family-owned company those designs always infringe on family time – so we’ve began charging for our designs.
What that has shown to do is separate the serious from the curious, and pay for time spent that too often was essentially wasted.
So the first thing we do is come to an agreement with a customer on a price of the design, which will vary depending on the scope of the project – and which we’ll take off the labor cost of a successful bid. We exchange email information, and begin hammering out materials and textures via email until we have a good idea of exactly how the final product needs to look.
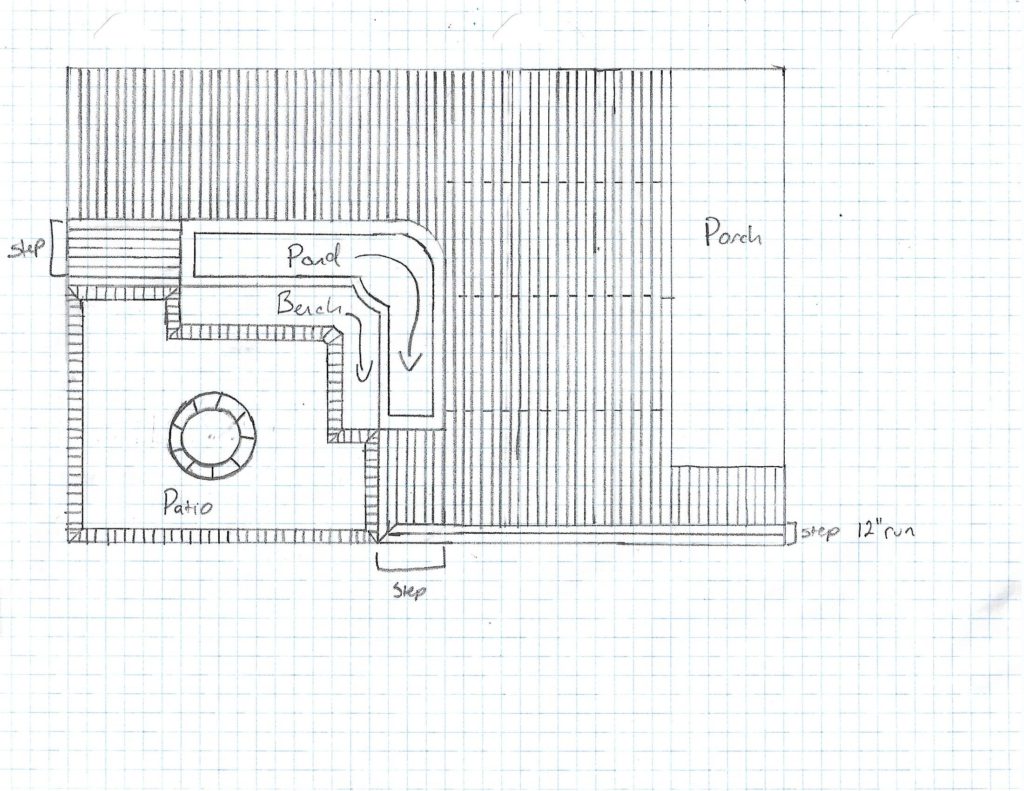
We then send an hand-drawn bid with an accurate itemized material list and the cost for our labor – it’s now no longer an estimate, but a “final price” bid.
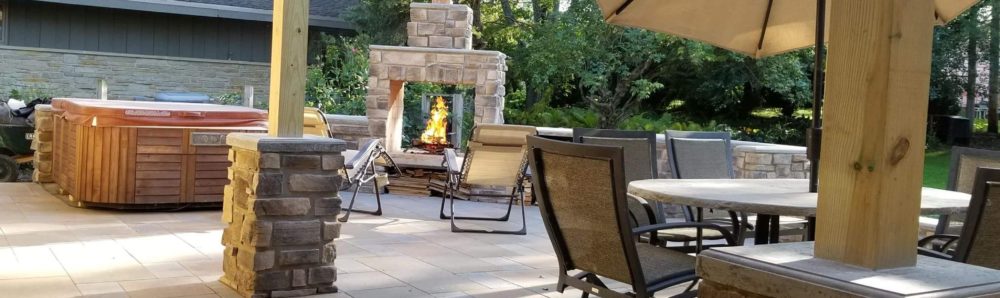
Once that is agreed to we like to convert that hand-drawn plan into a 3D rendering and an actual blueprint. We’ve been working with some simple software that was purchased the year we started, so the 3D aspects should be improving soon.

Once everything is agreed upon and finalized we move to step 3.
Step 3: Contract Agreement
We will send the customer our actual bid which can even be signed directly from your smartphone. Inside all the same itemized materials and labor costs are laid out, and once accepted by the customer begins the journey of taking the whole process off of paper and creating it in real life – our favorite aspect of the whole process!